Goal is to make a double axe laser tower.
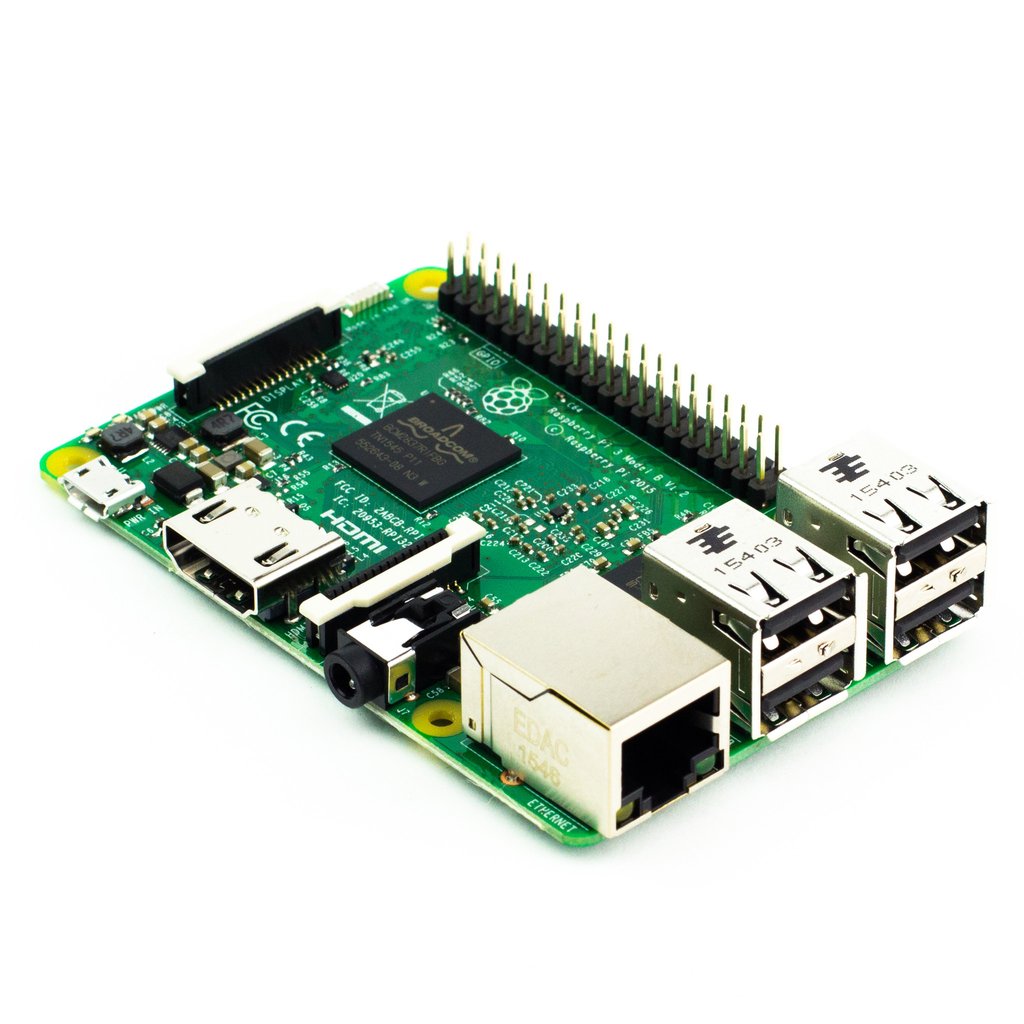
I have used a Raspberry Pi model 3 B, a mount & 2 servo and a couple of lasers.


I wanted to make a Windows 10 IOT version so i started to download Windows 10 IOT core dashboard but it did not succeed. I decided to use the NOOBS version from the official website. I downloaded it and put it on my SD card (Samsung EVO 16Gb). After booting, selecting Windows 10 core & a new fresh and fully functional install, i started the development part.
I downloaded project templates to create a new project (background application IOT version).
For controlling the servo, you need to change the « Default Controller Driver » of your board. You can reach the configuration from the IP of your board and the 8080 port. Go to devices menu and change the first box value to « Direct Memory Mapping ». Then through Nuget, you get Lightning IOT Framework and then grant authorizations like below.

Get the latest source code compile and run. This *should* work… I mean should because i faced many esoteric problems like blue screens during install, SEH exceptions, common exceptions, fails during debug and others.
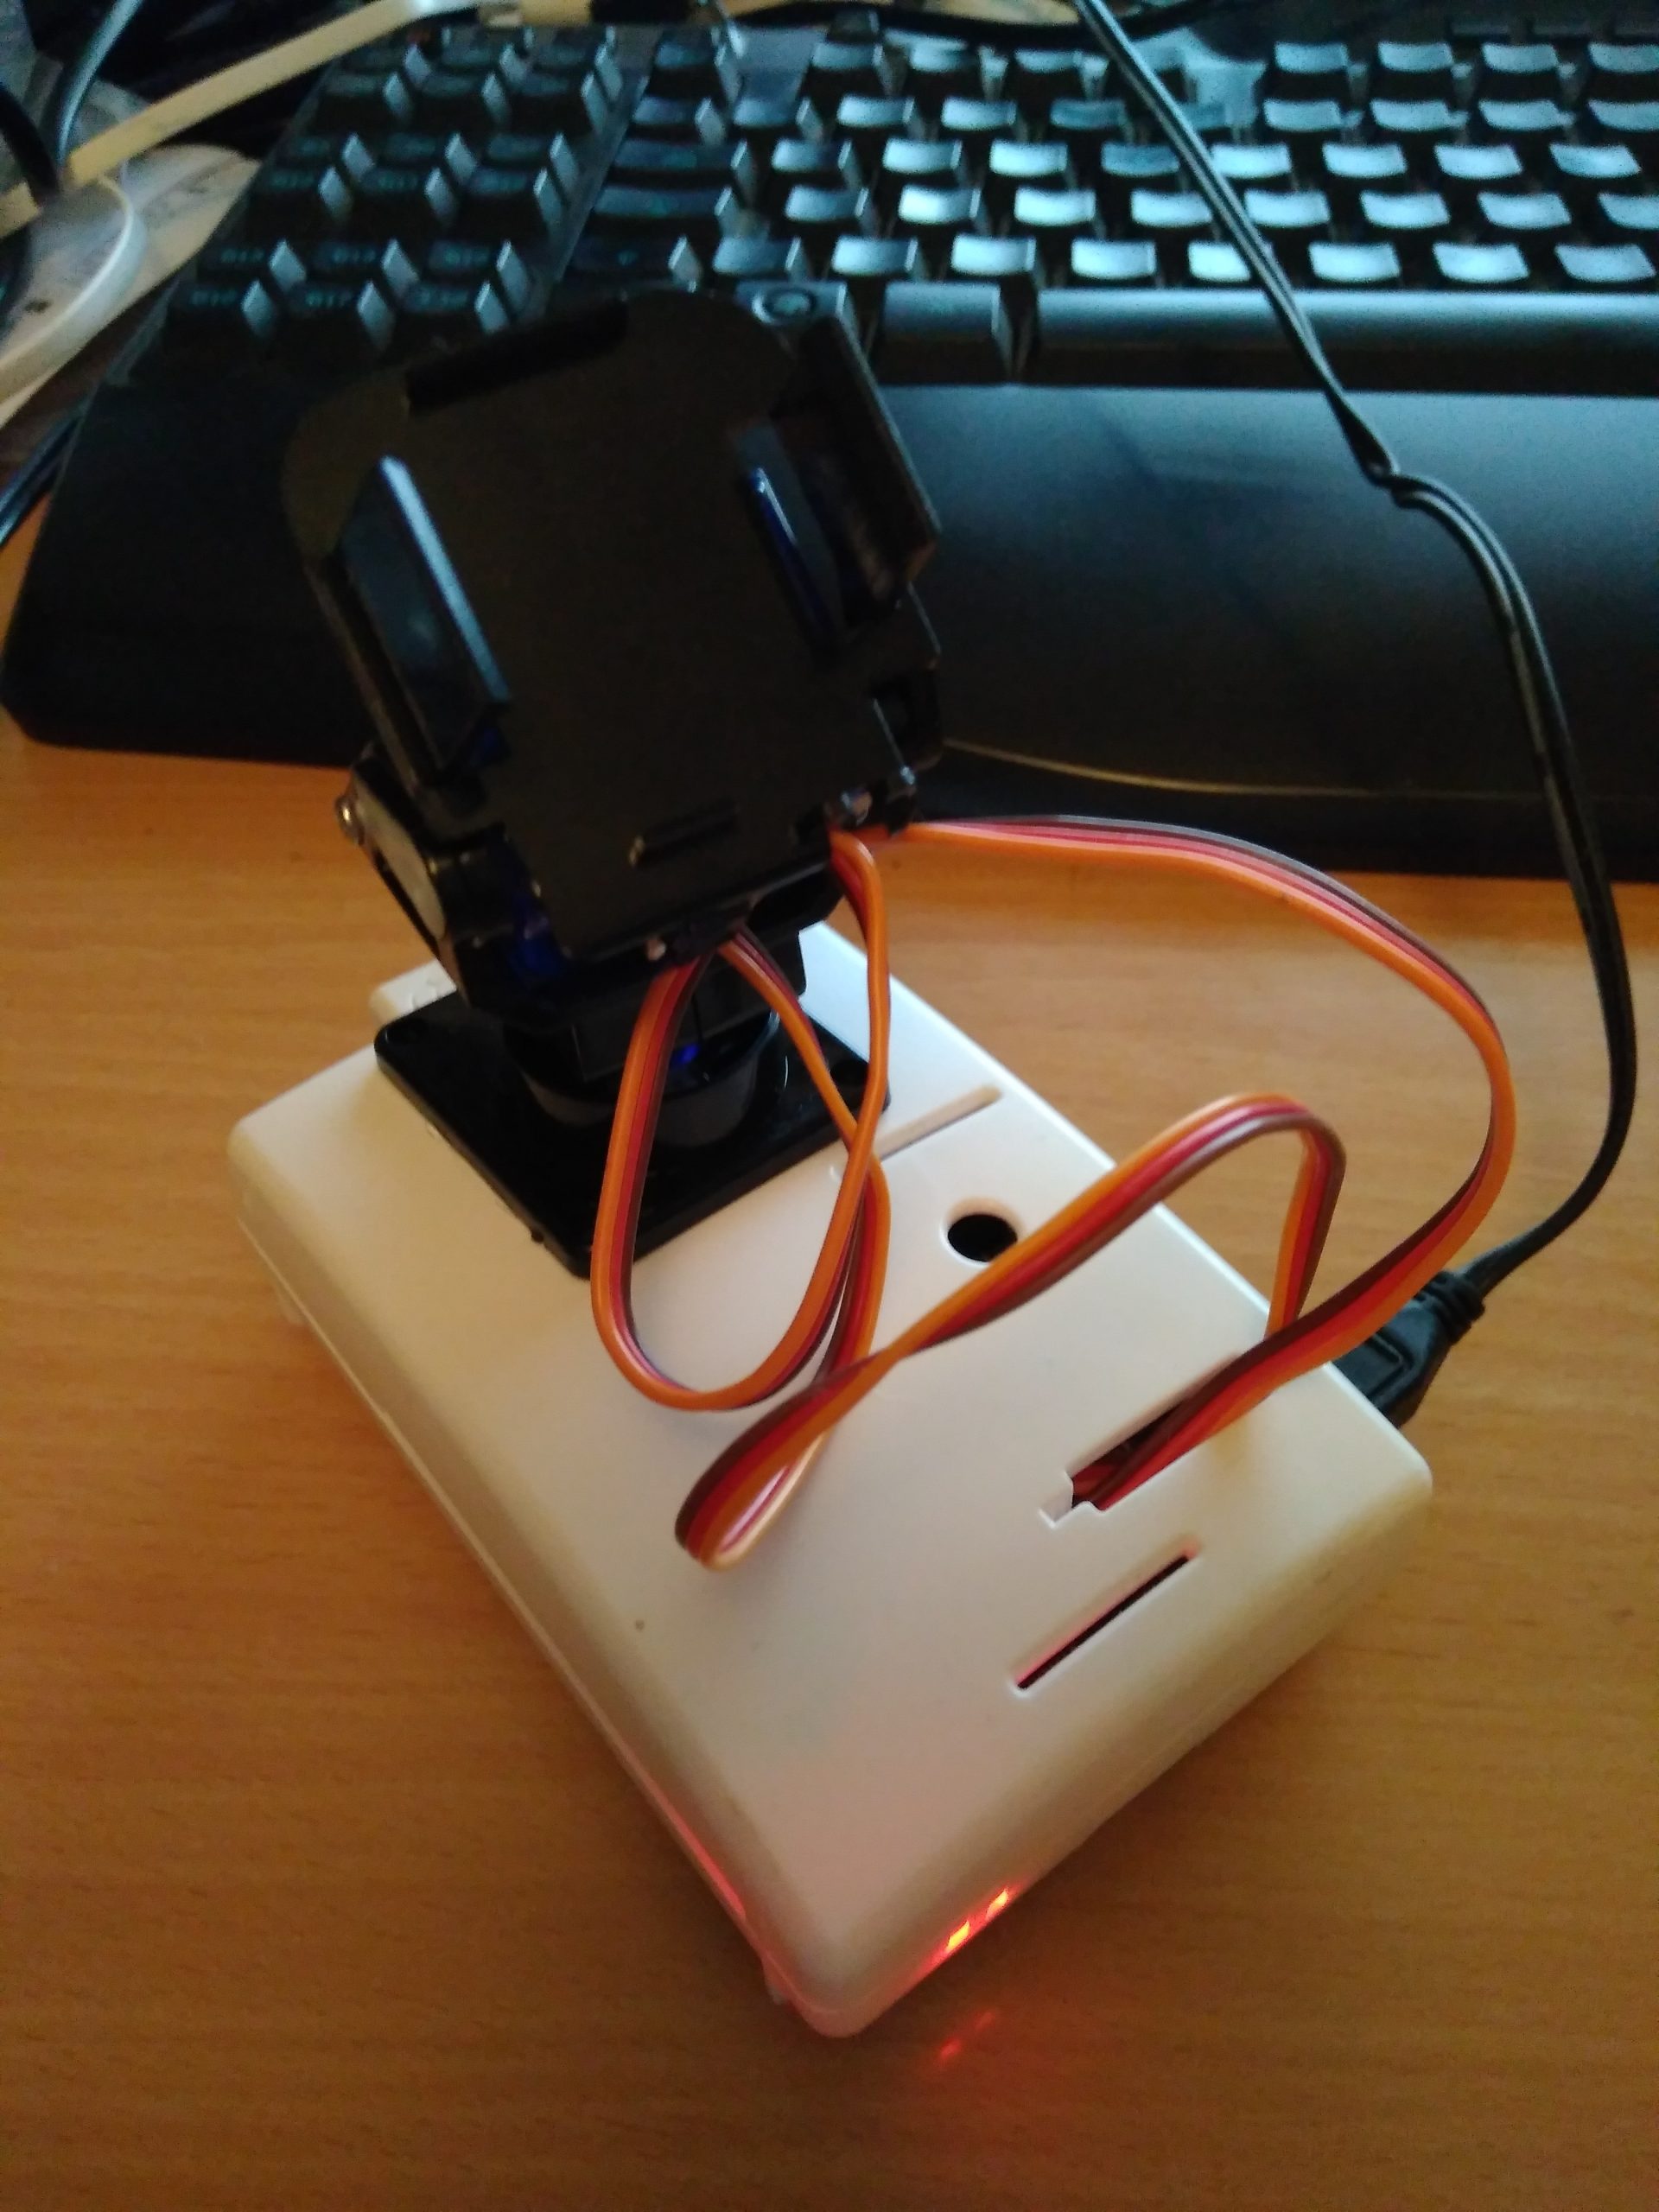
Here is a photo of the connected wires :
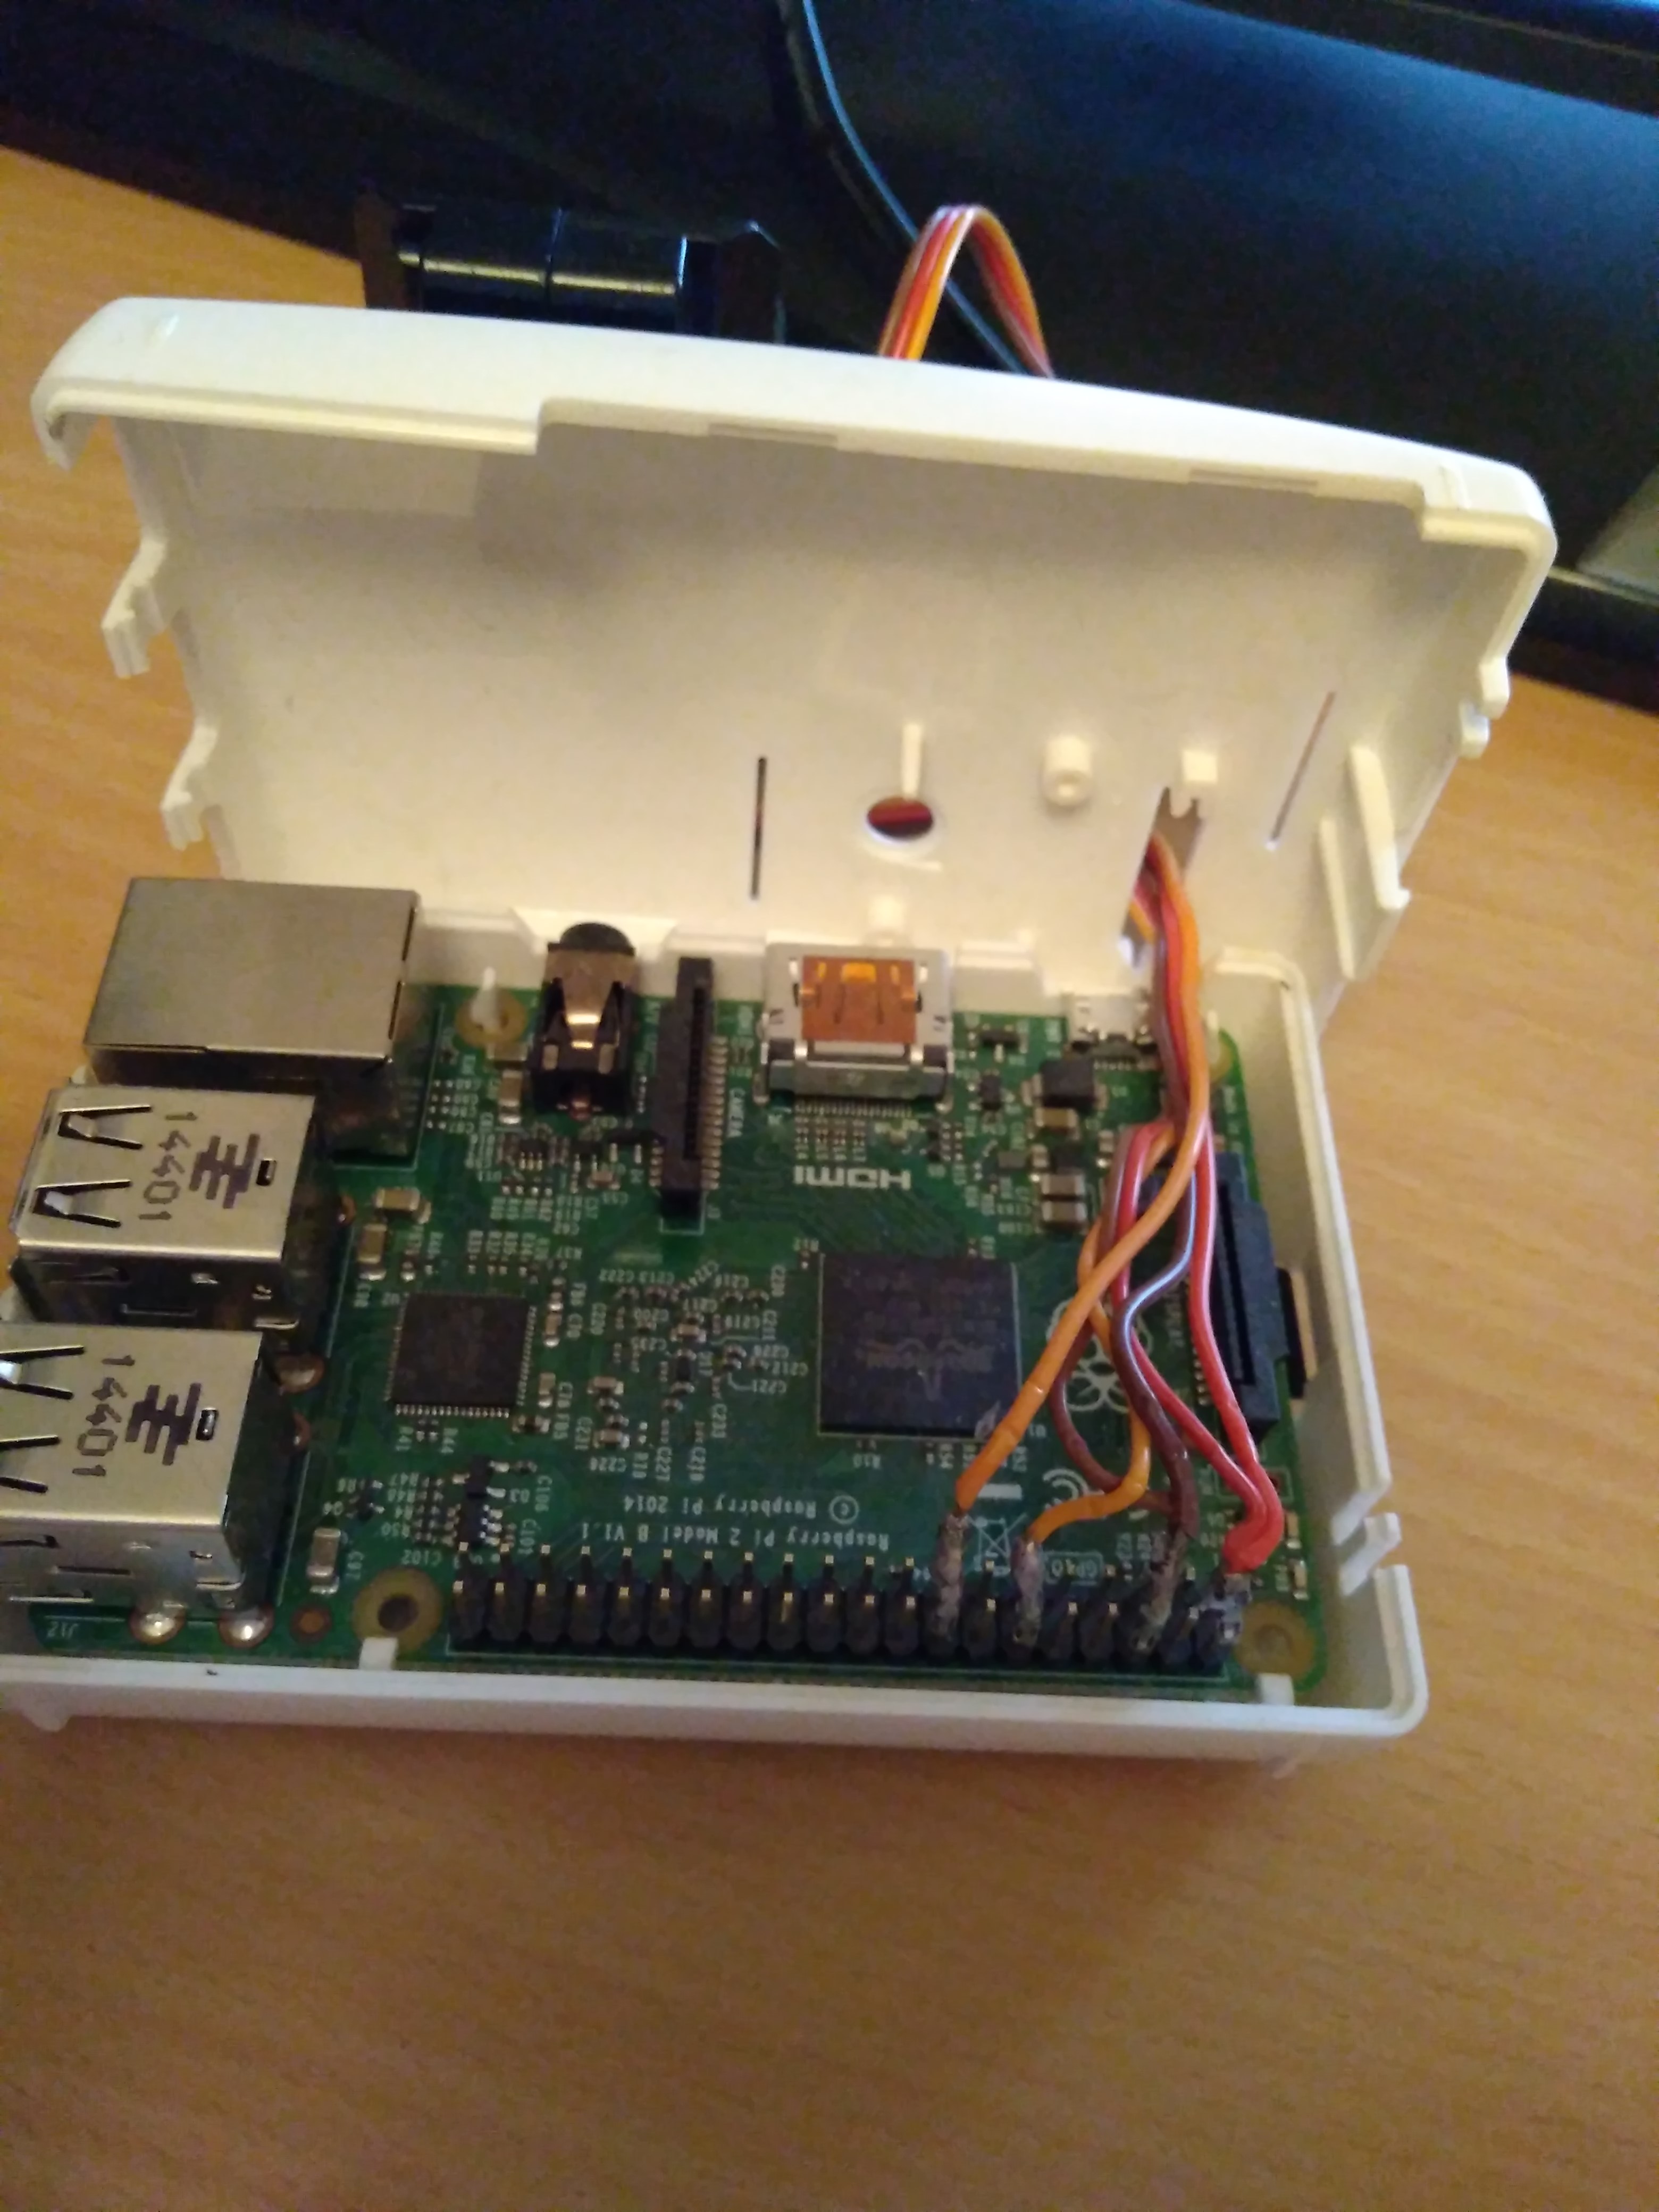
Red are for +5V, brown are for ground & orange are servo commands wires.
See revision d32326821787b9741d60e89238b89885558d2a37 on Github to find a « first step » source code.
Step 2, i have plugged 5 lasers like picture below just behind a 220 ohm resistor like detailed in my DIY source.
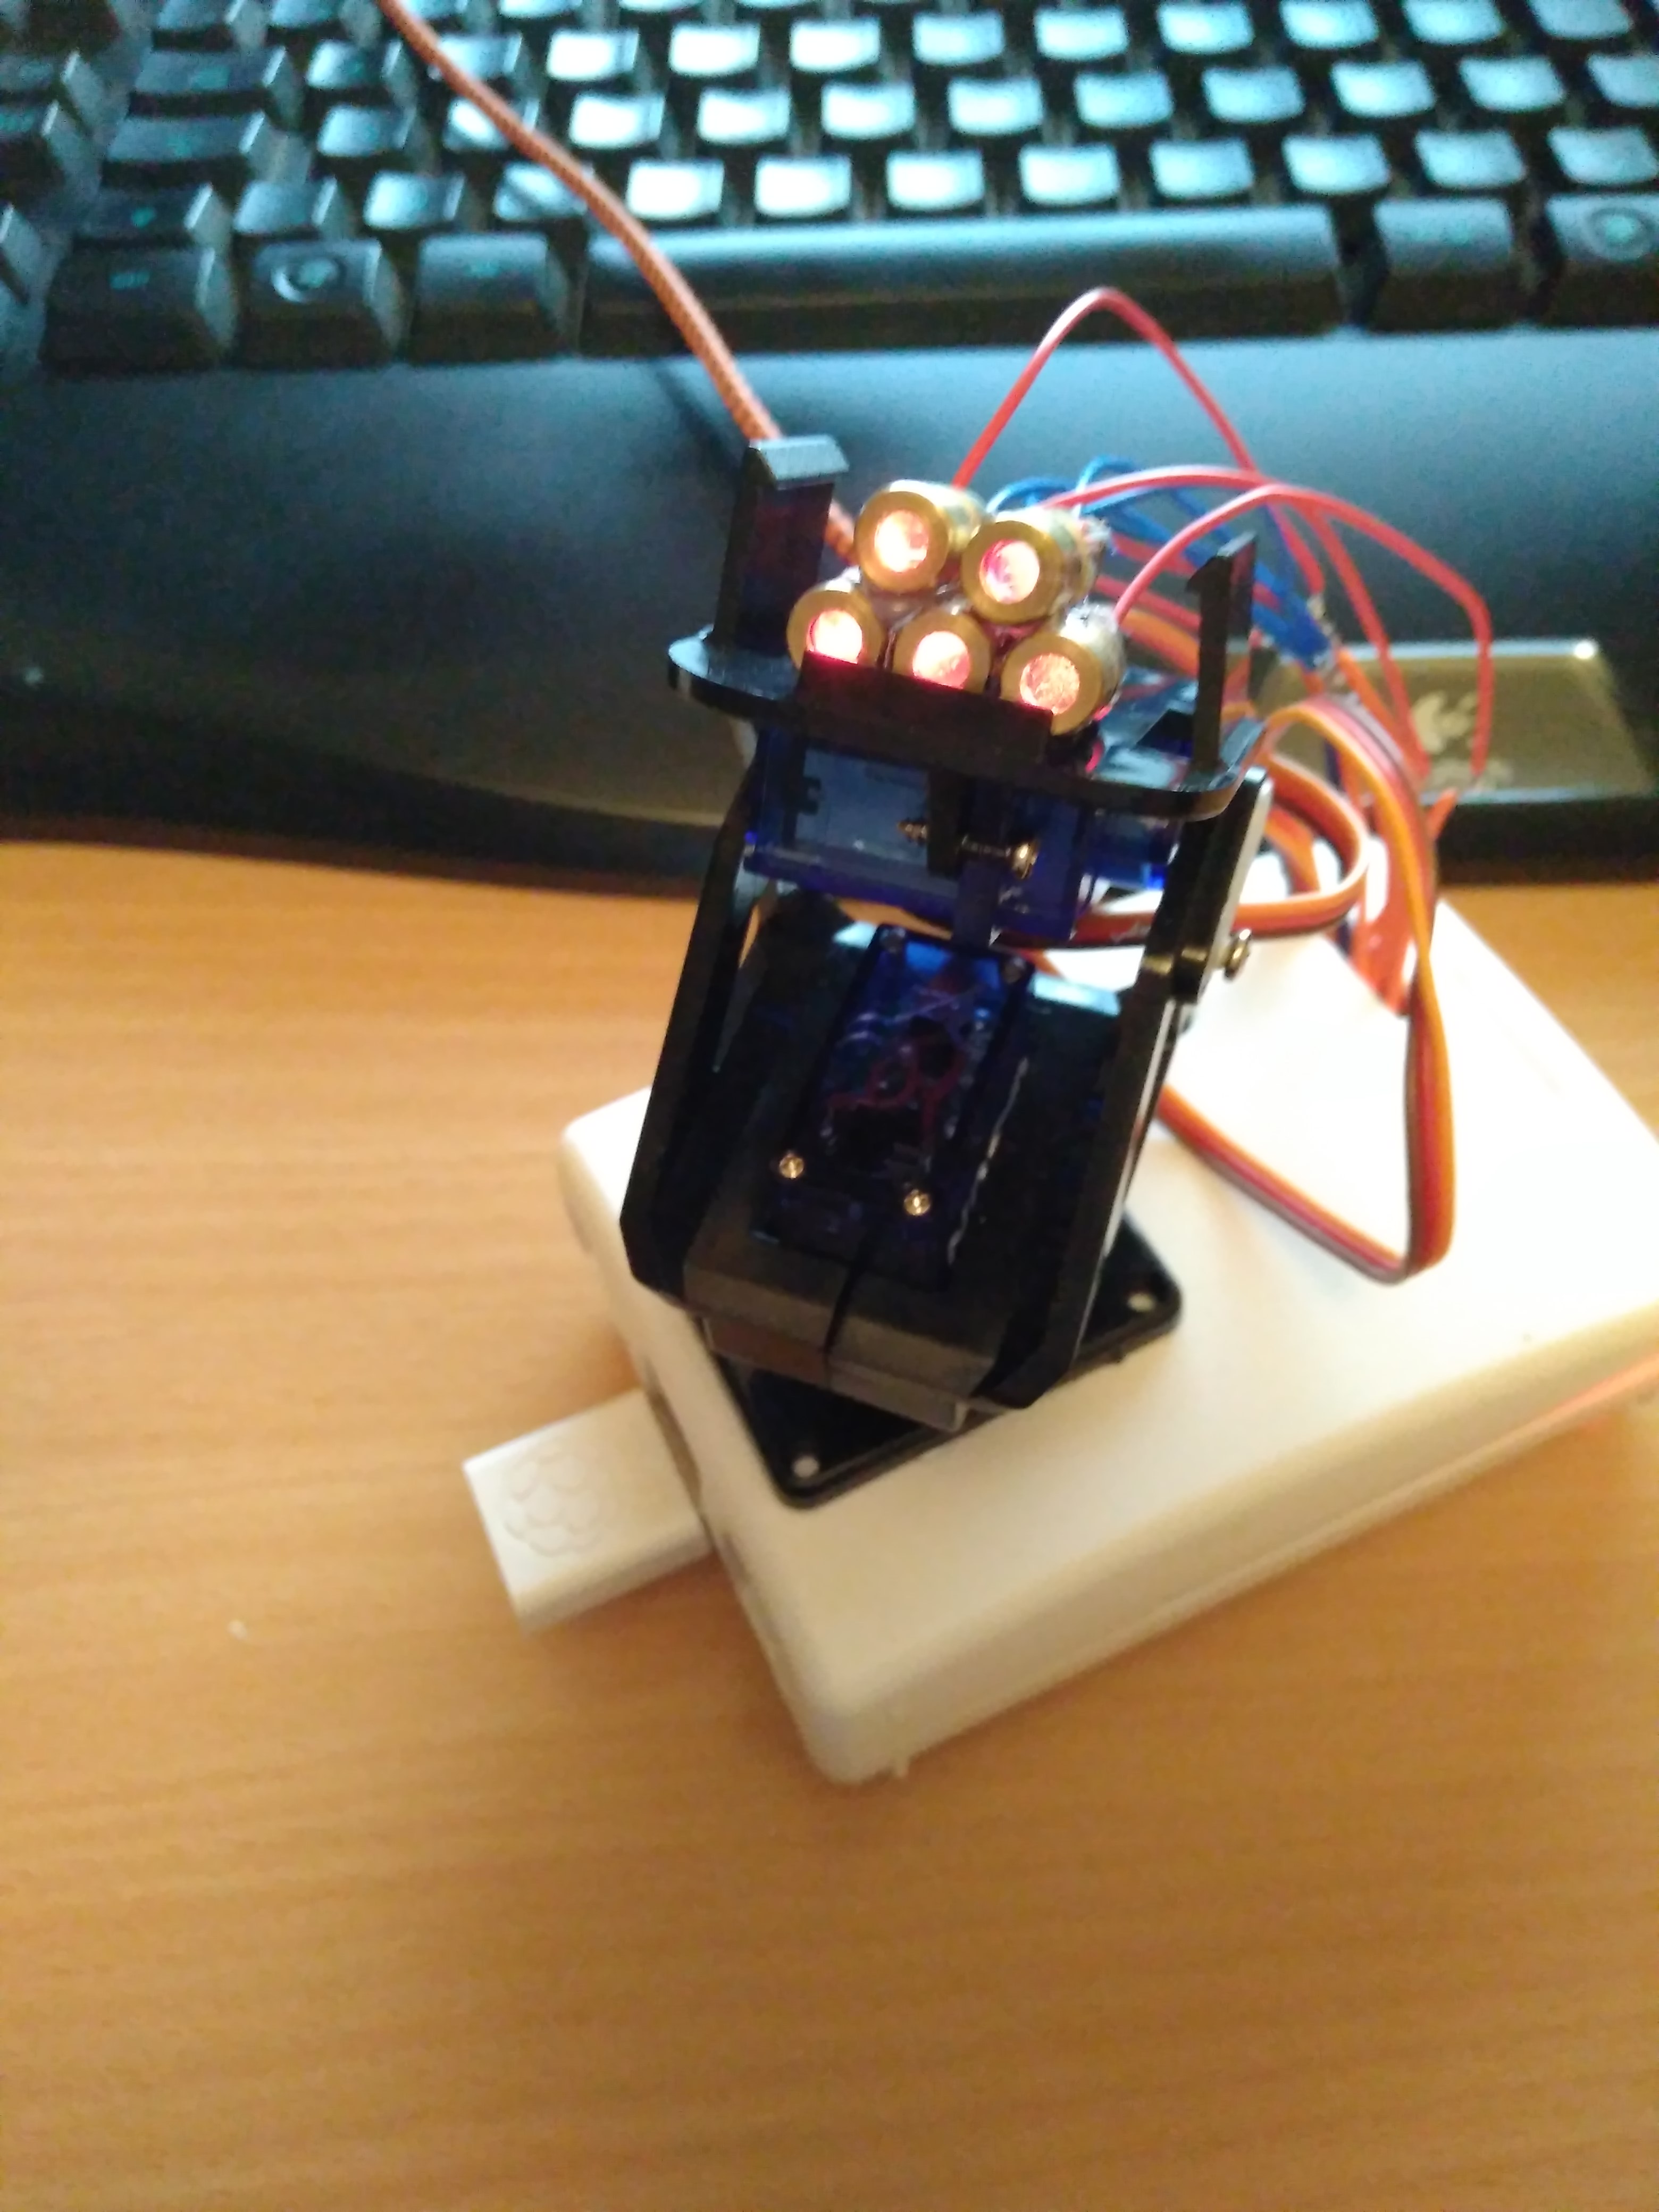
All ground wires are plugged together and i have plugged all +5V wires on pins 24, 25, 21, 7 and 16. This allow to manipulate each laser.
You can find the updated source code under the master revision on GitHub.
Here is a video of the « first step » result :
Full source code is available on GitHub here : https://github.com/alphamax/WindowsIOT
Idea from MiniMachines : http://www.minimachines.net/actu/tour-laser-53426
Helped with this post : http://www.lafabriquediy.com/tutoriel/tour-laser-pour-chat-259/